DIY: Colour Blocked Terra Cotta Mini Pots
I love having plants around all year long, but summer definitely puts me in the mood for gardening. Since I live in an apartment, most of gardening happens in pots, so when I had this idea, I was super excited to test it out. It's is an easy way to add a little flair to a plain and ultra affordable terra cotta pot.
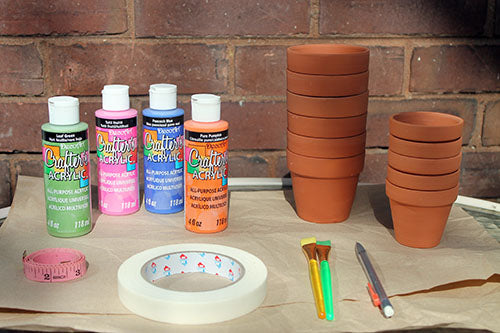
I had most of the supplies around the house, but what I didn't have I got at Dollarama (pots, paint, brushes)
- measuring tape - various size paintbrushes - terra cotta pots, any size
- pencil - acrylic paint in desired hues - thin gauge masking tape
1. Measure out your design on the pot. By far, the easiest to do is the colour dipped option. Measure and mark with a pencil where you'd like to fill in the colour, make several of these marks around the pot.

2. Tear off a piece of masking tape long enough to wrap around your pot, and connect the marks you penciled in, forming a straight edge.

3. If you're opting to do a design that has one or multiple stripes, then the top may be tricky. The masking tape trick doesn't really work, so a steady hand is a must. I found a single stripe was considerably easier than two stripes. But of course, it depends on your skill level.
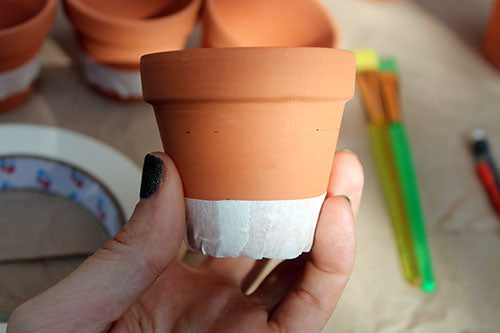
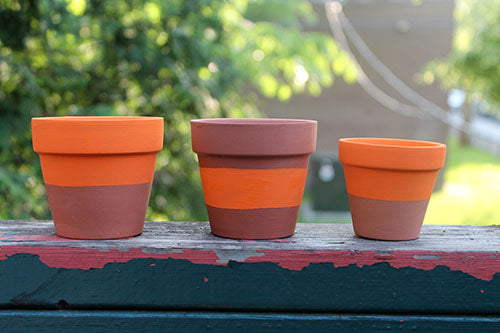
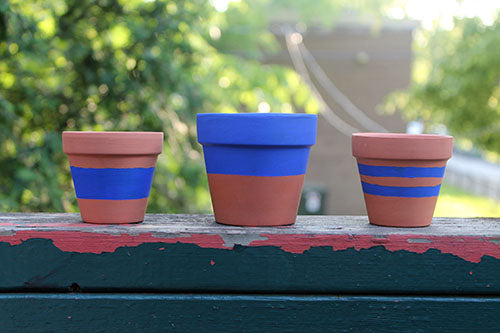
4. Now that you've taped off, it's time to paint! I don't want to point out the obvious, but don't go in there with a ton of paint on the brush, add on layers little by little, and make sure that each coat is consistent. If you're doing the colour dipped design, then be sure to paint the lip of the pot, and a bit of the inside. Also, be forewarned, you'll definitely need more than one coat. These are some examples of first coats:
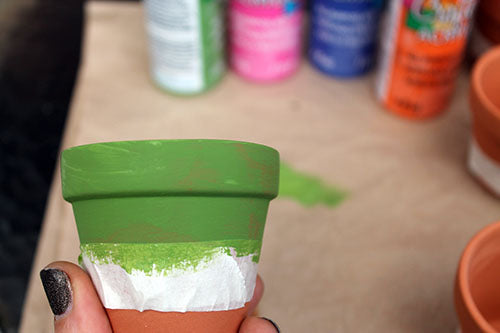
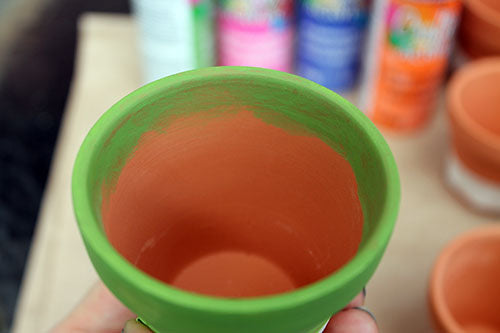

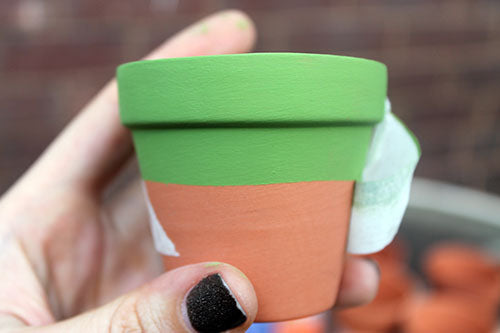
5. And here's what the green looked like after a second coat:

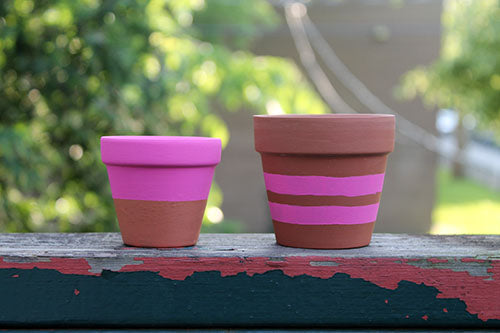
6. The pink took about 5 coats to look like this:

7. Once the paint is dry, which won't take long, carefully peel away the masking tape to reveal your crisp colour boarder.
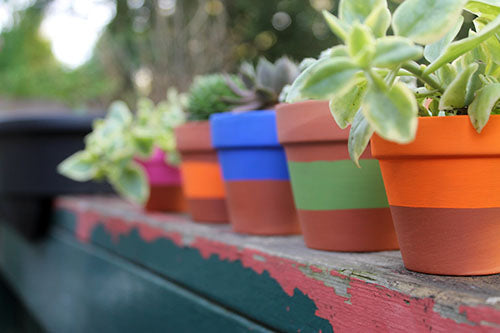
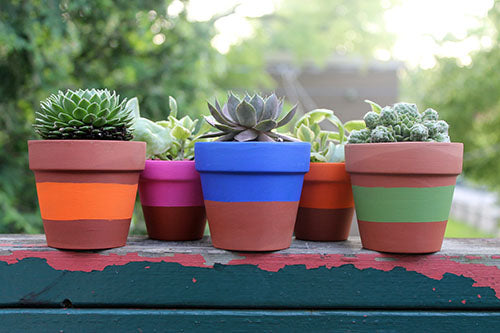
8. Personally, I found that my attempts at the two stripe pattern were in vain (shaky hand). But the single stripe and colour dip design turned out great! Here's everything that I attempted:

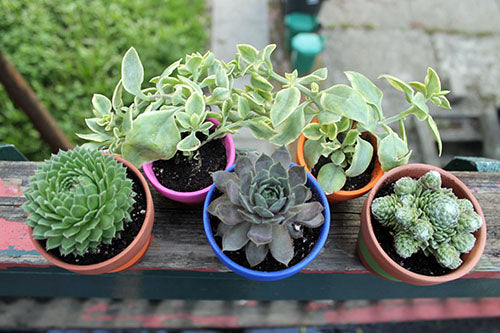
9. These were the ones I ended up using for the plants I had waiting. Enjoy.

